
- is a miniature landscape with living plants and even sometimes small animals like lizards or turtles.
- nice to see....nice to hold.....easy to care......sO have fun with this article.....
- keep in touch.......huhu
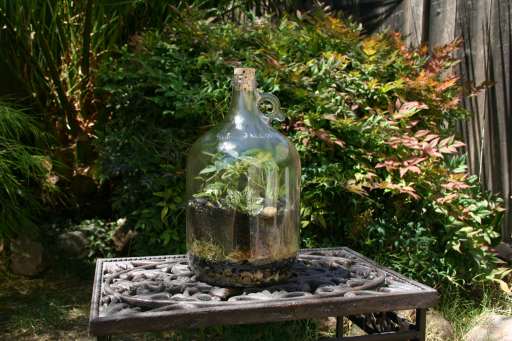
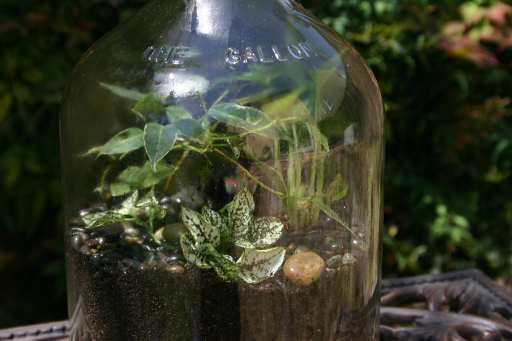
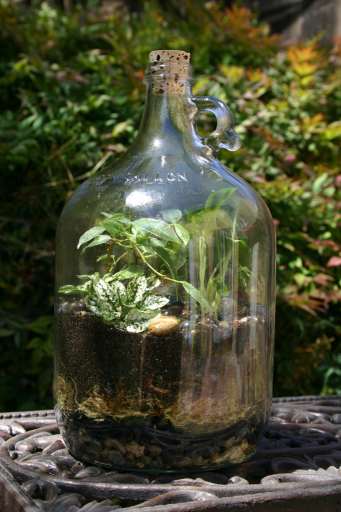
- Large Glass Terrarium
- Creative Terrariums
- Terrarium Plants
- Soda Bottle Terrarium
- pickle jar terrarium
- wine jar terrarium
Soda bottle terrarium
- One 2-liter bottle of soda (with cap)
- Potting Soil
- A handful of small stones or pebbles
- A Marker
- Scissors
- Seeds
- Seedlings (small plants) this is optional if you want to start right out with plants in your terrarium
- Extra: If you want to make a really good terrarium you would also use activated charcoal and spaghnum moss. More on this below.

- Pebbles
- Activated Charcoal
- Spaghnum or Spanish Moss
- Soil
- More moss
- Plants
Why the Moss on the top of the soil? This is just to make it look nicer! It is totally optional........huhu
OKAY! Let's build our terrarium
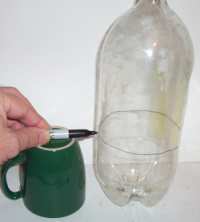 Step 1: Draw a line around the bottle about six inches up. I use a neat little trick to make a nice straight line. I rest the marker on the top of an upside down coffee cup then I rotate the 2 liter bottle. It makes a nice straight line.
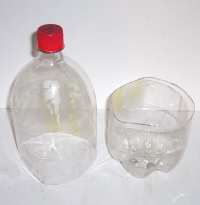
Cut the bottle along the line with a pair of scissors. You may need to start a small hole in the bottle before you can cut it with the scissors. Please ask a parent or adult to help you with this cutting of the bottle.
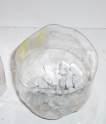
Place a handful of stones in the bottom half of the bottle. About 1-2 inches deep should be good.
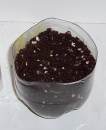
Place your other materials in the bottle. The charcoal then the moss then the soil. If you are not using charcoal or moss then put just the soil in. fill it to about 1 inch from the top.
Now Plant your seeds! You should plant 6 to 10 seeds and later as they grow you can pluck out some of the weaker ones and leave the 2 or 3 best ones.
Don't forget to water your terrarium before placing the top on. The soil should be moist but not soaked.
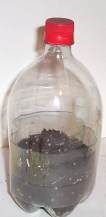
Now Place the top on. I recommend you squeeze the top onto the bottom so the top is on the outside.
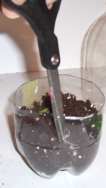
If you have trouble fitting the two pieces together you can cut a slit about halfway down the bottom half of the bottle. this will help it close up a bit and make it easier to fit the top over it.
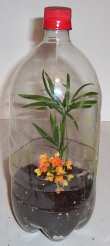
Congratulations your terrarium is completed. In a few days your seeds should germinate and in no time you will have a soda bottle terrarium that looks as nice as this one.
Taking Care of Your Soda Bottle Terrarium
There are two important factors you have to consider when it comes to your terrarium: the amount of sunlight it gets and the amount of water that is inside.
Once the plants have sprouted you should make sure it gets sunlight but do not leave it in direct sunlight for the entire day. It is a closed environment and it can get very hot inside.
Water - Look carefully at the soil in the terrarium. It should look moist but not soaked or too dry. Beads of water should form on the top inside near edge and these will drip down the sides and continue to water the soil. If it appears to be too wet you can take the top off and leave it uncovered for a day or two.
**nie cilup from this page...http://www.stormthecastle.com/terrarium/soda-bottle-terrarium.htm
 WONDERFUL TERRARIUM


No comments:
Post a Comment